Ah, sunsets! There’s just something about those awesome colours glowing across the sky that makes us stop and look — and, of course, photograph. We’ve all come back from a trip with at least one sunset shot. But photographing sunsets is not that easy. Quite often they don’t look anything like the sunset you remembered. The colours are not as deep or vibrant as in real life. And that is because the very high dynamic range of sunsets — that is, the difference between the brightest point and the darkest point — is greater than what the digital sensor of your camera can capture. So, your camera automatically selects just the middle areas of brightness and clips off the brightest and darkest areas.
There’s a way to get around that using a technique called HDR. You start by taking three shots; the first at normal exposure, the second one or two f-stops overexposed and the third one or two f stops underexposed. You then merge the three images together using Photoshop to get an image that better reproduces the full range of light. The image of the Cuban beach is an example of an HDR image. This is a fairly complicated technique so, unless you really want to spend a lot of time processing images, it’s best left to the pros. (By the way, Apple Iphone 4’s and 5’s now have an built in HDR capability that is fairly good and it’s automatically done for you.)
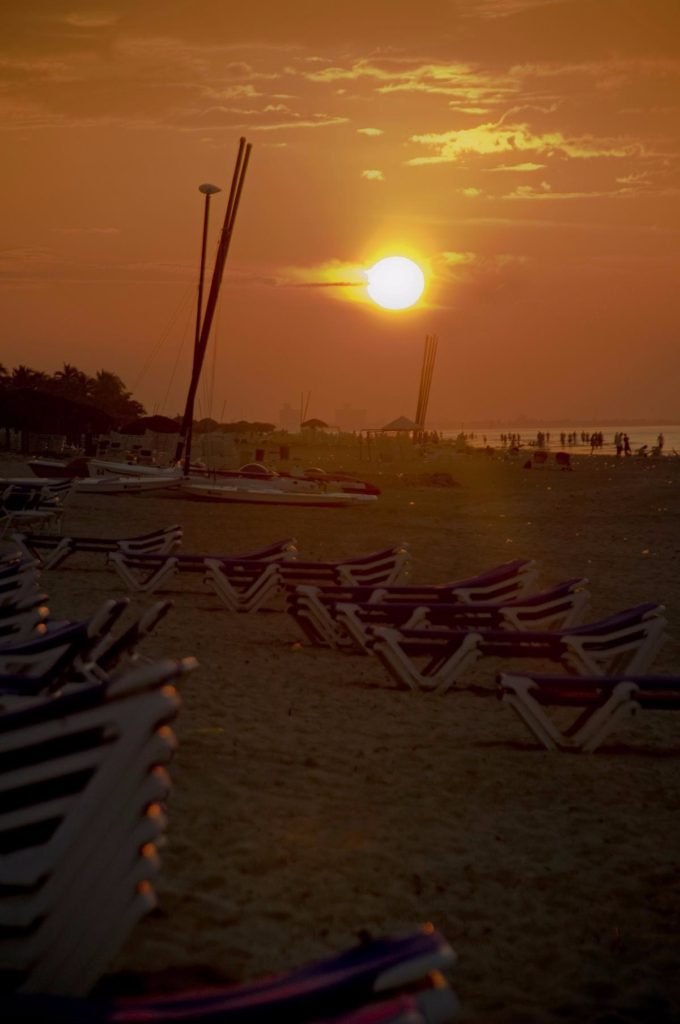
What I really want to talk about here is how to use the colours of the sunset without taking the sunset itself. Focus your camera away from the sun and you’ll still get fabulous colours without all that dynamic range hassle. The other shot of the Cuban beach was shot at the same time as the HDR image. It captures some of the nice light but is also able to get much more detail in the shadows creating more depth in the image.
Also, if you wait until the sun has set you’ll find the colours are still there and the dynamic range is easier to handle, such as the shot of the couple in silhouette on the Cuban beach. These three images were taken within minutes of each other but each has a different look.
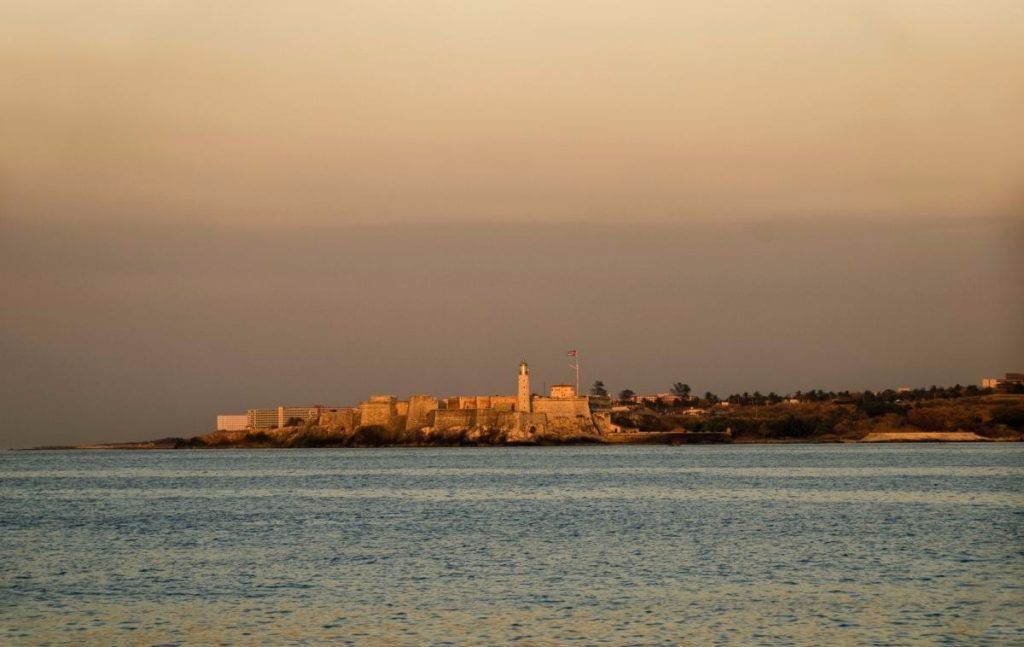
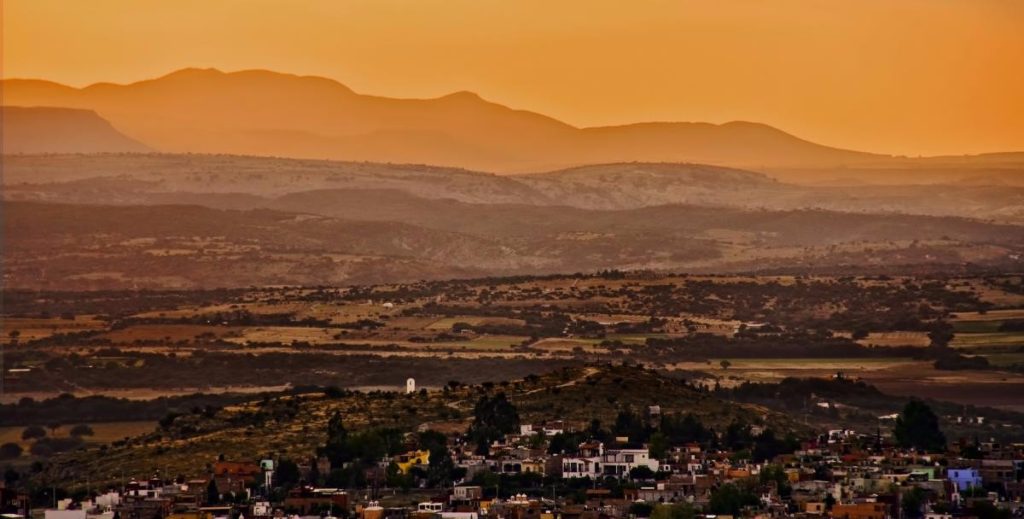
Twilight — the half hour or so after sunset — is my favourite time to shoot. The light becomes flatter (less HDR) and the lingering colours make objects take on a soft glow. The shots of Morro Castle in Havana harbour and of the hills behind San Miguel, Mexico become special as they take on a golden glow of twilight.
My last point is about white balance. Most of today’s cameras have an automatic white balance feature that compensates for colour tints created by different types of lighting, such as incandescent or tungsten. Sunsets can fool these sensors and produce unnatural colours, such as too much green or too much yellow. Check if your camera has a sunset setting on. With some cameras you can adjust the settings manually. Alternately, you can adjust the colour balance of your image later with a photo editing software such as Photoshop.
So, the trick with sunsets is to not shoot the sunset itself but to use the colours created to light the subjects you want to capture. On your next trip, try to play with the colours of sunsets to get stunning images of the places you’ve been rather than just another sunset.